Holiday photos are always special. I mean, ALL photos are, but there’s something about holiday photos, and their ability to transport you back to a time and a place, and oddly recreate that warm sense of happiness.
But like all our digital content, how often do we stop and take a look at it?
I remember when I was a kid, a rainy afternoon could always be filled by pulling the photo album’s off the shelves and poring through them – memories of my own younger self combined with a sense of family history as I watched my family’s lives turning through the years before I was born.
But my children? They get to sit and watch my screensaver in the office as it rolls through whatever year of their childhood it happens to be set to this week. And they really do sit there and watch.
I’ve been saying for years that our ten year’s worth of digital images should be taken out of iPhoto and put where we can see them. And not just the selected few in the rogues gallery gradually building up the stairs, ether. I want lots of them around to flick through.
But the job of having to resize an image, and printing that many photos is a huge task. And sifting through that many to find the ones we want is even harder. It’s an impossible task I don’t even want to think about tackling.
And then there’s the idea of Scrapbooking.
I mean Scrapbooking? That’s a whole ‘thing’ right?
Of course there’s digital scrapbooking – we suggest you try mixbook scrapbooks if you fancy this – but for the ‘real’ thing you need acres of space and time and 38 different types of paper, a glue gun and all manner of sticky stuff.
Naturally, after a few weeks of dithering I realised I was totally over-thinking the whole thing.
I don’t need to make it to anyone’s standards but my own. It doesn’t matter if everyone else uses sparkly stickers, a hot glue gun, 12yds of washi tape and Cricut-created bunting. This one’s for me, so it’s only got to work for… me.
And once I started, I couldn’t stop. I LOVED it. Because it brought all those memories back. And I brought out the big folder of all the travel ‘bits’ we collated as we completed our massive family roadtrip around Italy in 2014 – receipts, leaflets, maps, tickets… And instead of having them slumbering in an annoying bag under my desk, I finally had somewhere to put them!
So here’s my Top Tips on creating an oh-so-easy No-Rules Holiday Memories Scrapbook.
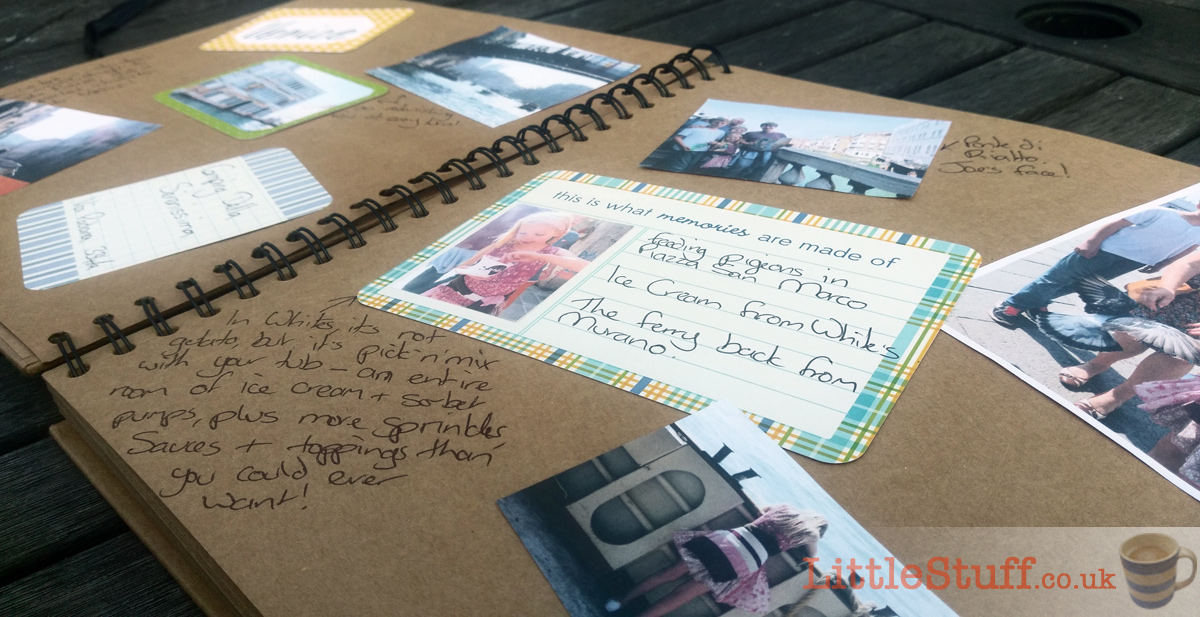
1 – Simplify – and simplify again.
You don’t have to process ten years of photos. Or even one year. Start with just one event.
For me, this was simple – in 2014 we had the trip of a lifetime driving 4,000 miles in a motorhome. How amazing was the experience? Brain-tinglingly Astonishing.
And how many pictures of this monumental adventure do we have up in the house?
Not one.
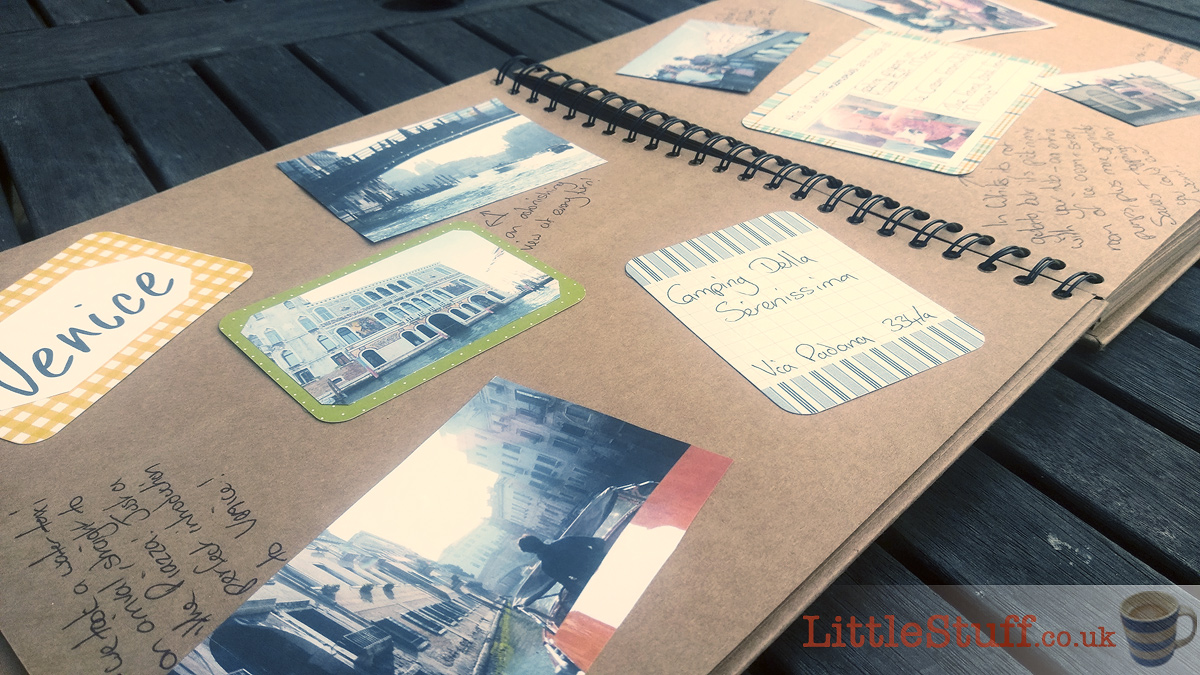
So I set to work. But even though I’d simplified to one trip, it was still too big. Four weeks and 4,000 miles is an enormous amount of images to wade through. So I broke it down again. I didn’t need to tackle it all – just one location at a time was good enough. I could easily pick out my favourite shots of one day in Venice. Or 24hrs in Rome.
And don’t just choose the beautiful shots. Choose the ones that tell a story, the ones where your kid is pulling a face, or they’ve just dropped their ice cream. Show the mad and the silly as well as the drop-dead gorgeous – add as much character as you can.
2 – Print the pictures.
You can run them off at home, but it’s far more cost effective if you plan ahead and watch out for deals from places like Snapfish. Check the size of your scrapbook (I used an A3, which is a really good size but doesn’t easily fit on a bookshelf. I rather like the idea of a whole shelf of A4 scrapbooks), and print lots of different sizes, small to big. 6″x4″ is usually the smallest regular size, but use a simple photo editor to combine two or more images into a collage that you can then cut smaller – or place a portrait photo in a landscape print, and choose ‘shrink to fit’; you’ll get white edges that you can cut off yourself.
3 – Buy Some Cards
I used a cheap Project Life Family-themed multi pack (try Amazon here for scrapbooking kits, there are scrapbooking kits themed for EVERY occasion from a triup on the moutains to a child’s first birthday), which worked brilliantly. Of course you can go ahead and buy loads of card stock and papers and tapes etc, but we’re trying to make this simple and painless, right? My £7 investment was worth the 3hrs I saved cutting and trimming and measuring.
4 – Check Your Details
Keep some notes to hand of the places you are in the images, the details of where you stayed, and sort your travel paraphernalia to make sure you have what you want in the scrapbook to hand.
5 – Lay it out on a page.
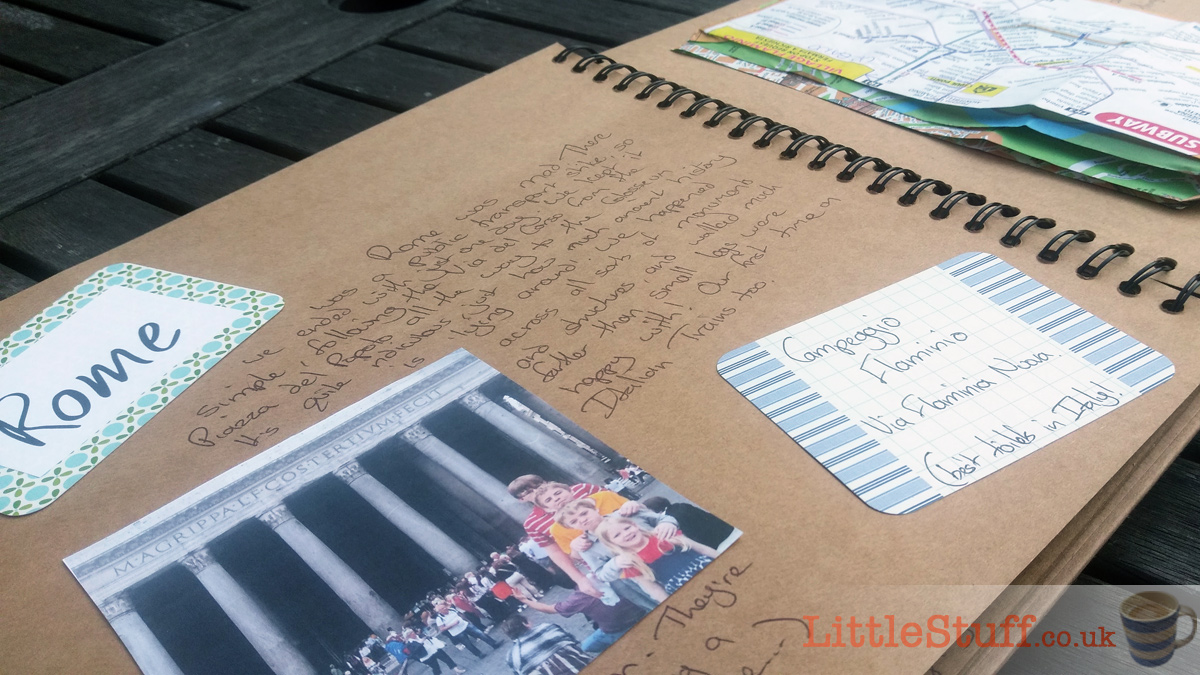
Don’t get complicated. Stick some pictures to backing cards, and create yourself a title for the page. Then lay them out. If you choose odd angles you won’t be stressing about everything being in perfect straight lines. Leave lots of space for writing on – you can of course print the writing off neatly on the computer, but half the charm of these books is the personal touch. Your handwriting (and anyone else in your family who wants to add comments) adds character and authenticity. Plus of course you can add to it any time you feel like it without having to re-do a whole page.
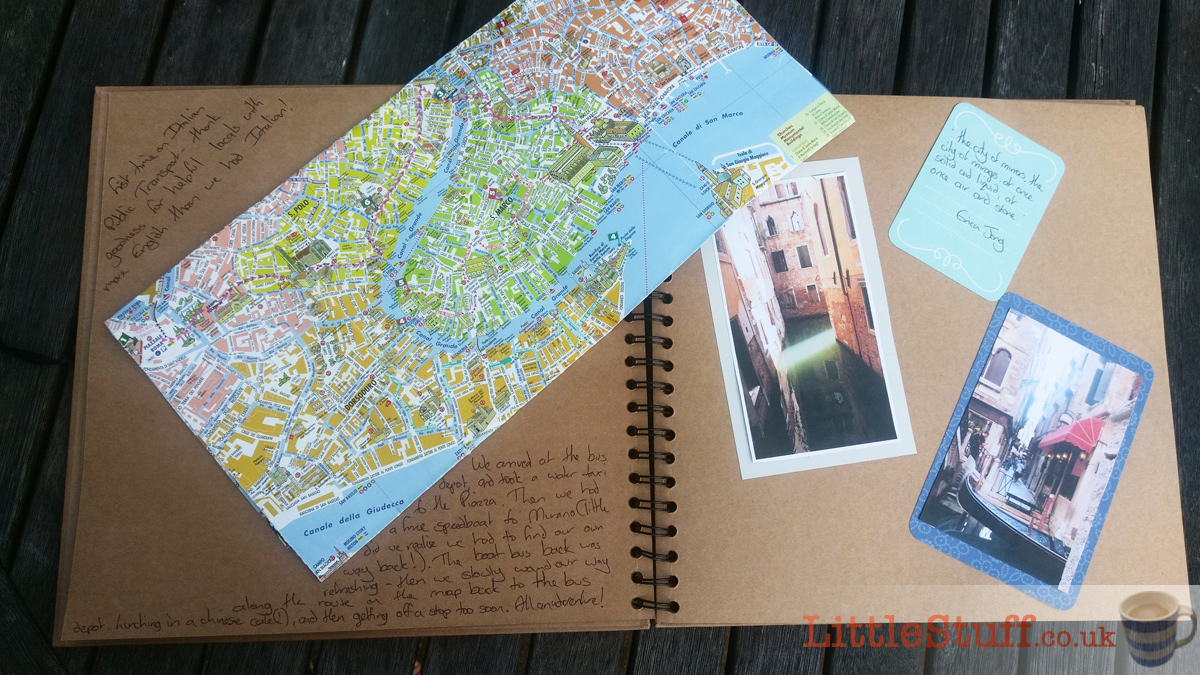
Don’t forget to add tickets & receipts, and maps can be added as fold outs – and write notes on those too!
6 – Stick it!
Don’t get fancy – glue dots or sticks work just fine. In fact, a glue stick is perfect – you can re-position for a while so you can change our mind if you feel it’s looking wonky.
7 – Write it.
I know not everyone agrees with me that writing is a joy, but just a few lines talking about what’s happening in the pictures you’ve chosen adds so much meaning.
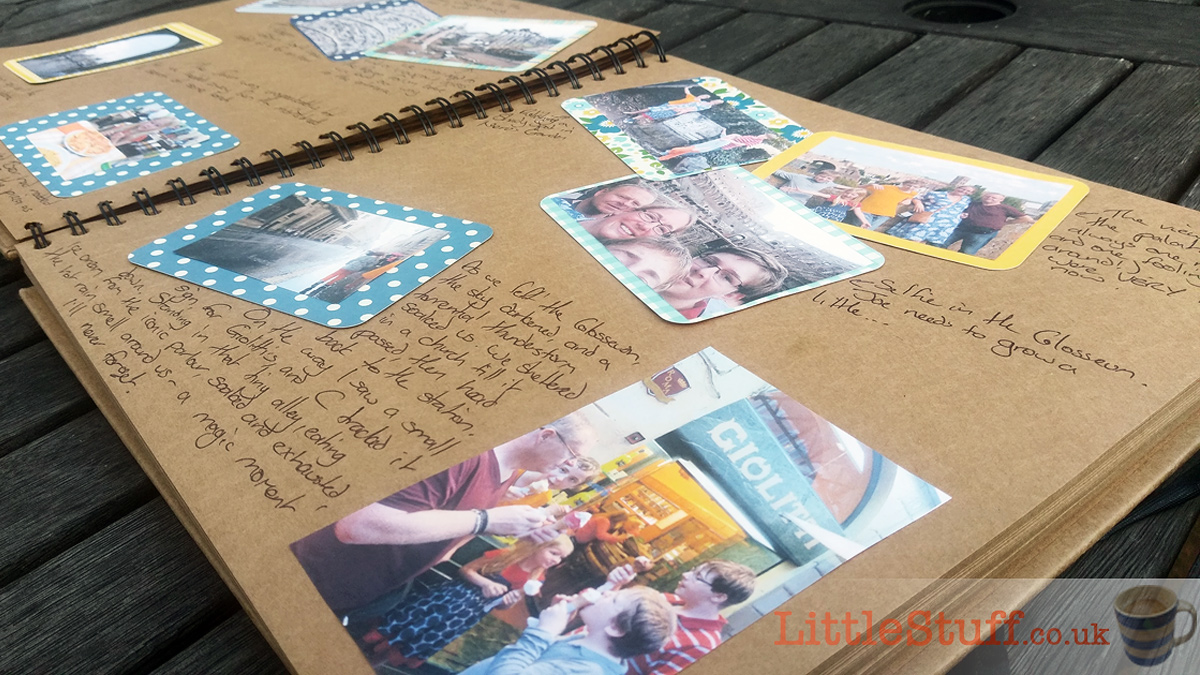
For my second Rome page I’ve included a shot of us all eating Ice Cream. It’s not a great picture – it’s slightly dark, slightly out of focus, and not a flattering shot of any of us. We look exhausted, bedraggled and a little quiet.
Which is fine. We were.
We’d spent the most glorious day walking Rome, it had been unbearably hot, and then the weather broke with dramatic speed into a torrential downpour with rolling thunderclaps. On our weary, soggy, splashy way back to the train station I’d spotted a sign for Giolitti‘s, one of the oldest ice cream parlours in Rome (it’s the one in Roman Holiday. If it’s good enough for Audrey & Gregory…). Despite our tired feet, I longed to visit – and so Mr LittleStuff headed off on a quest through twisting back streets to find it. I was ready to give up, but he insisted on one more corner.. and there it was. The Ice Cream was justifiably delicious, and that one image captures everything that I loved in one small second. My most precious people in the world, laughing at our exhausted dampness in that small alley, peacefully enjoying a very special ice cream together in the fresh warmth of Rome after a thunderstorm. It was pure magic then, and every time I look at that picture I feel the magic again. The picture’s not a classic, but it’s very very special to me, and now I’ve recorded the story so it won’t be forgotten.
8 – Let Others Take Part.
If the event you’re creating your scrapbook around involved other people, then let them add to it. Small comments from them about the pictures will add so much life and character, and it becomes a book for all of you, a repository of ALL your memories. And doubly special.
The pages don’t have to be picture-perfect; Memory books are all about the things you’re adding to them. Ugly battered tickets, worn and crumpled tourist maps, little random comments, stupid faces… It’s the small sparkling droplets of our personal memories that will combine into a beautiful pool of shared memory in years to come.
The whole time I’ve been working on my Rome & Venice pages, I’ve been reliving the sights, sounds and smells of two of my favourite cities (I can’t wait until I get to the Ugento page!).
There’s no doubt the book will be filled to bursting before too long, and I’ve already planned half a bookcase of albums to follow this one.
If you’re feeling inspired, then just remember – don’t put it off and feel overwhelmed. Crack on and make a start. There are no rules – it’s just for you. And whatever you manage to put together? You’ll love it – and you’ll never regret doing it.
Pin It For Later!


18 February 2020
Hi,
Blogs about traveling and spending holidays are always very interesting and helpful.
18 February 2020
Hi,
Thanks for sharing a blog about traveling. It always stresses how to spend holidays. You make it easy.
18 February 2020
Hi,
Thanks for sharing a blog about traveling. It always stresses how to spend holidays. You make it easy.
12 March 2020
Wao,
What a great Trip You have and you make a lot of things a little easier and helpful. I just like this travel Guide and the information about your trip history.
12 March 2020
Hi,
Thanks for writing on this great topic and making a lot of things easier and reducing the complexity.